


An item was added to your favourites
Adobe InDesign, Photoshop and Pages for Mac are popular applications for designing a printed yearbook.
The yearbook document must be properly configured for print, otherwise images may print pixellated.
These preset instructions are universal across all versions of InDesign, with screenshots below for Adobe InDesign 2025.
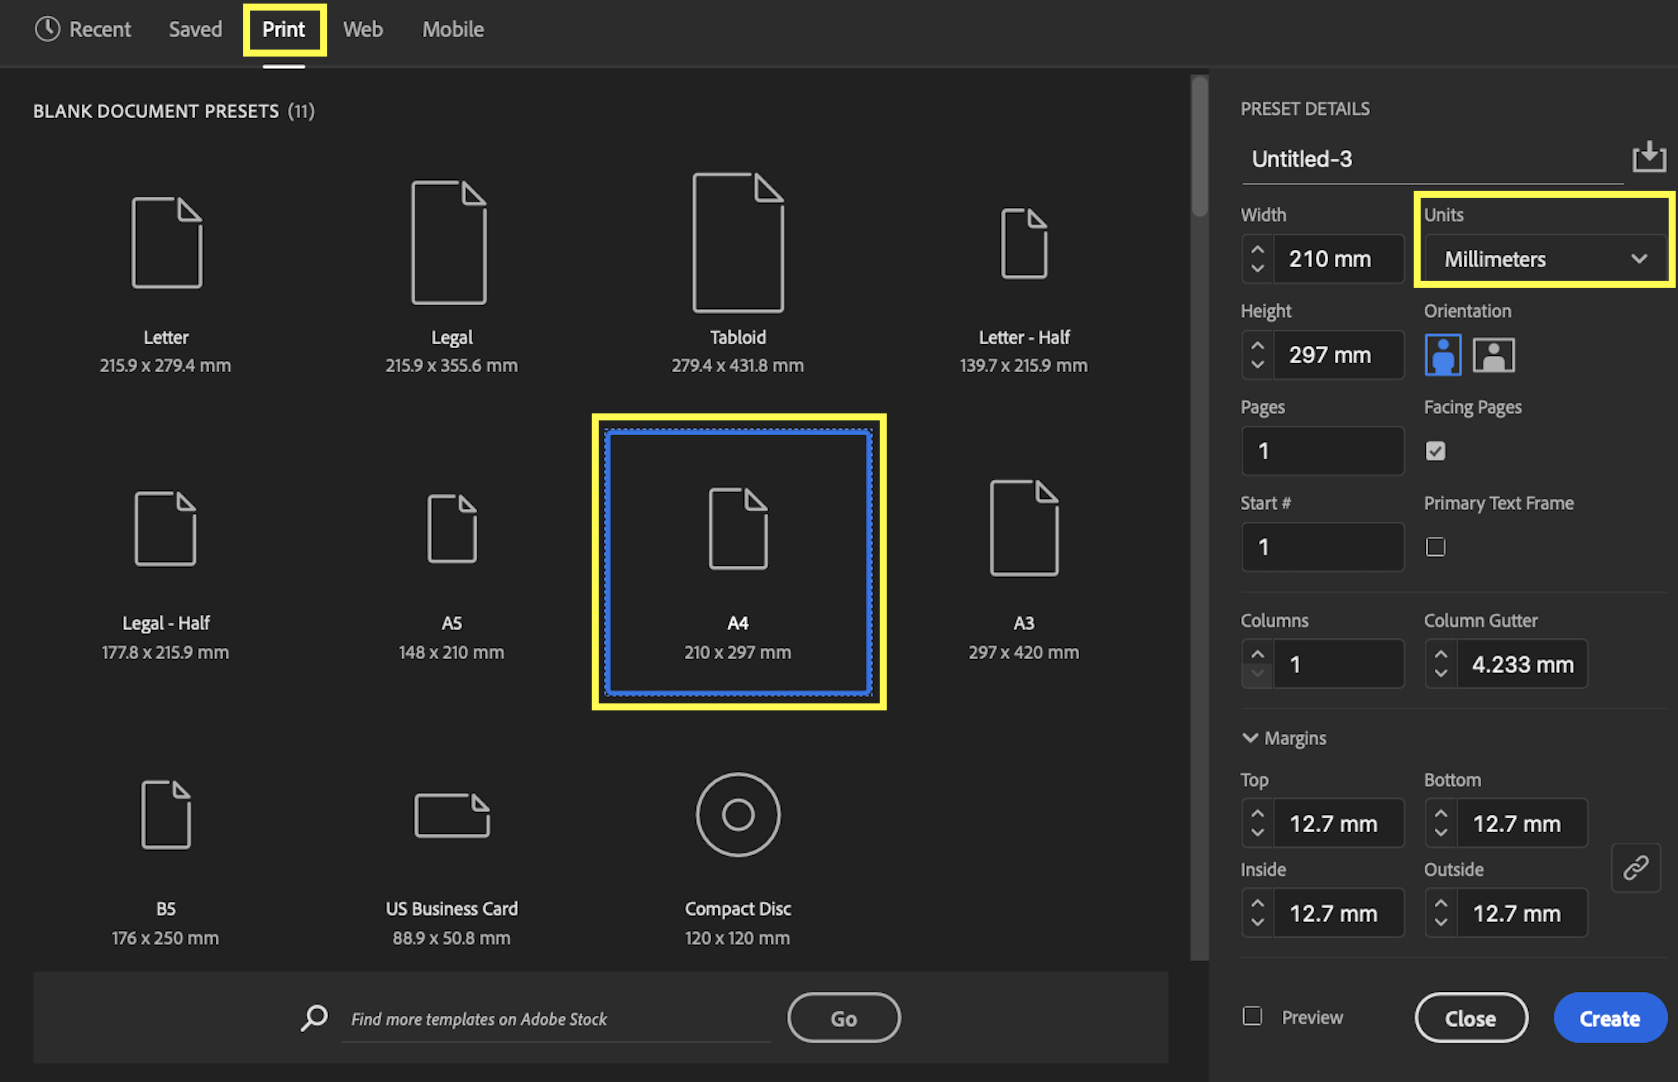
 Crop Marks – checked
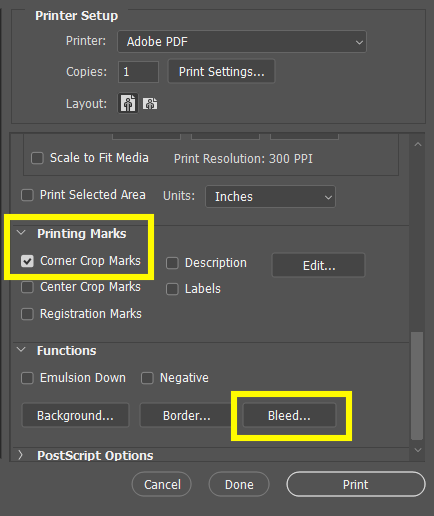
These preset instructions are universal across all versions of Photoshop, with screenshots below for Adobe Photoshop 2025.
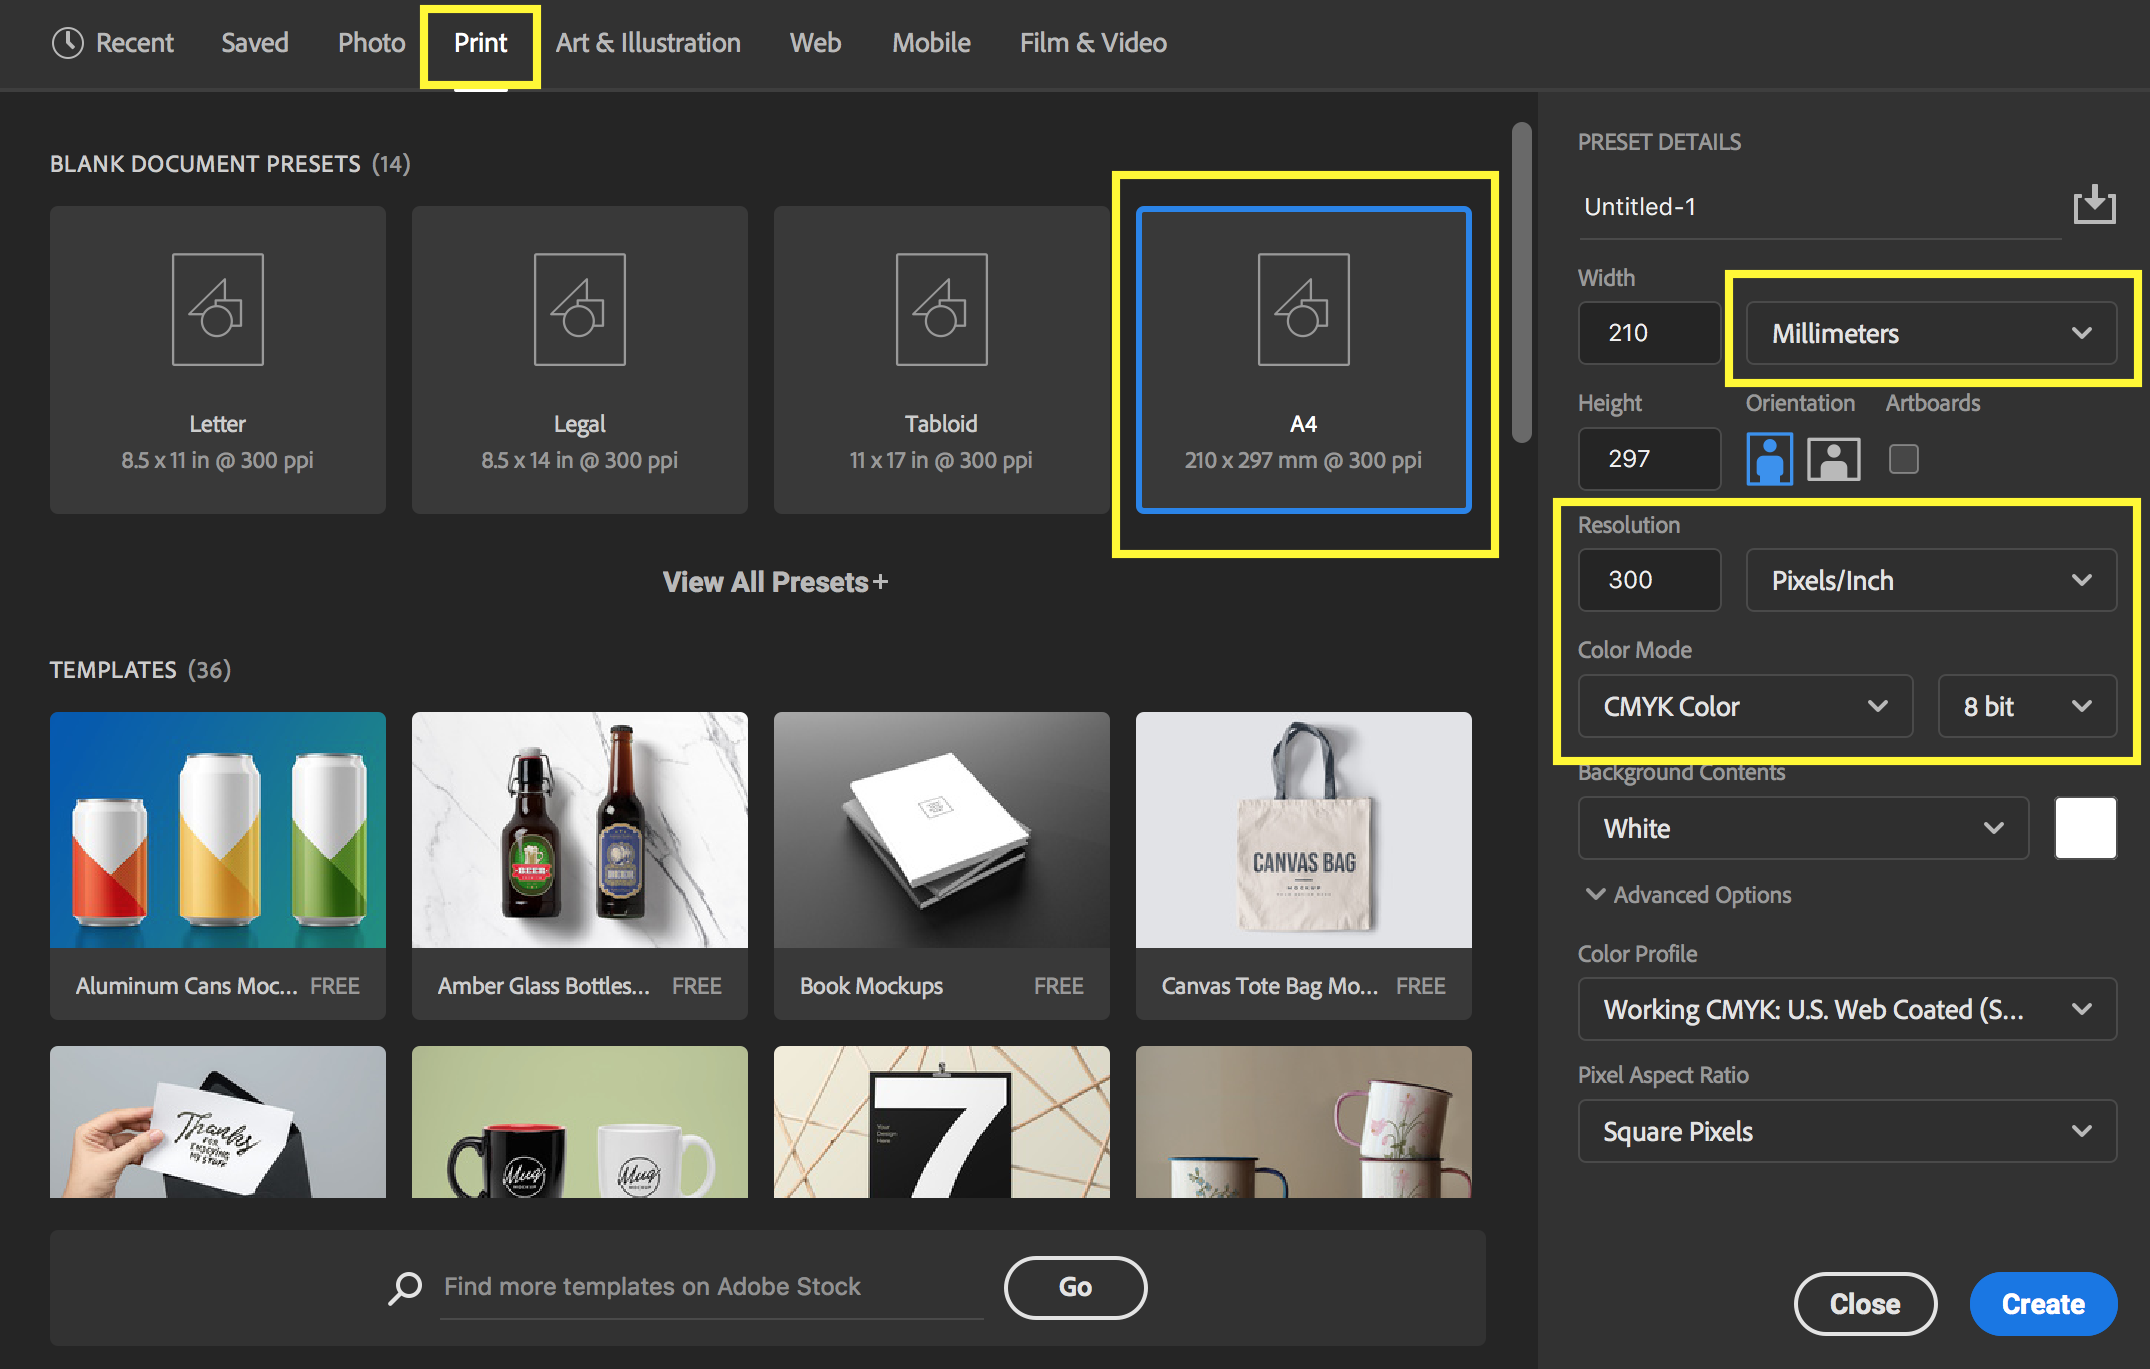
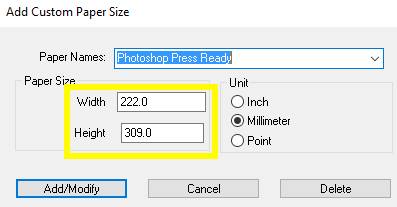
 Add 6mm Bleed to Width and Height (this adds 3mm to Top, Bottom, Inside and Outside)
In the case your page background colour is not white, please fill the page with the Colour now.
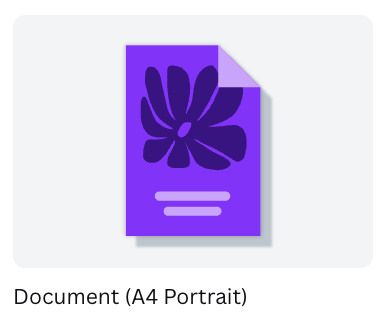
Use Canva’s ready-made templates or start from scratch.
Not all features are available in the free version.
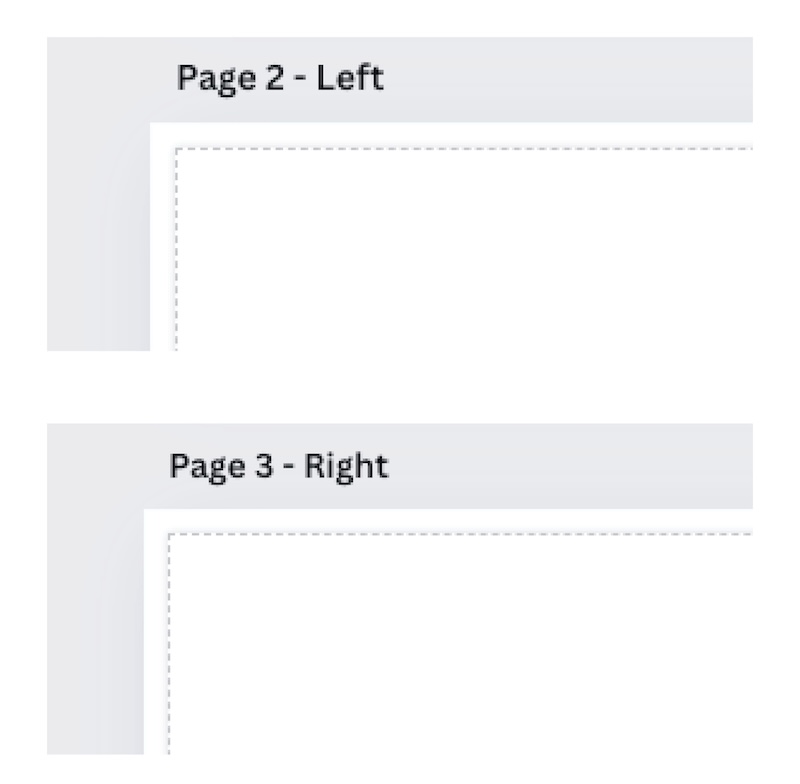
5. Settings > Show margins
Label your pages as ‘left’ or ‘right’ this will help you keep track of the pagination of the book
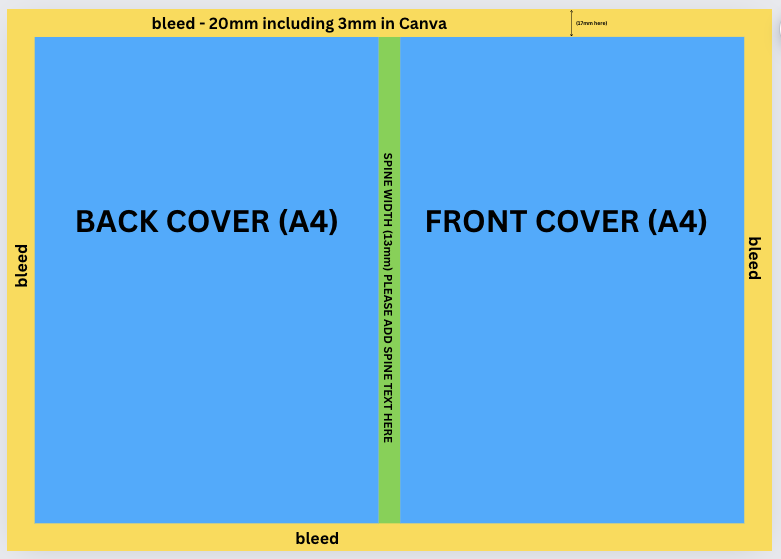
Talk to the Rockstar team and we will provide you a template that will help with the set up of your cover!
Draft a Table of Contents to plan and break-down your project into smaller chunks.
To speed up the design process, we suggest dropping / inserting all text and photos into your document first,
before taking the time to finesse each page.
Page Numbers, Headers and Footers and offer yearbook readers a sense of cohesiveness.
Move all image files first into a Yearbook subfolder first, before placing them into your document.
(InDesign links images to the yearbook file, it does not embed them).
Master Pages are best for automatic page numbers, headers and footers. Paragraph Styles and Character Styles for text,
helps you maintain consistency with your typography.
Share a Work in Progress PDF version of your yearbook with your Rockstar Project Consultant.
We’d love to see how it’s all coming along!
Congratulations – the yearbook design is complete!
Export a specific high-resolution PDF for printing. For yearbook photos to appear sharp and non-pixellated,
specific PDF export settings must be followed:
Preflight is InDesign’s way of letting you know that all files are present, valid, and correctly formatted.
These export instructions are universal across all versions of InDesign, with screenshots below for Adobe InDesign 2025.
 Adobe PDF Preset: [PDF/X-1a:2001]
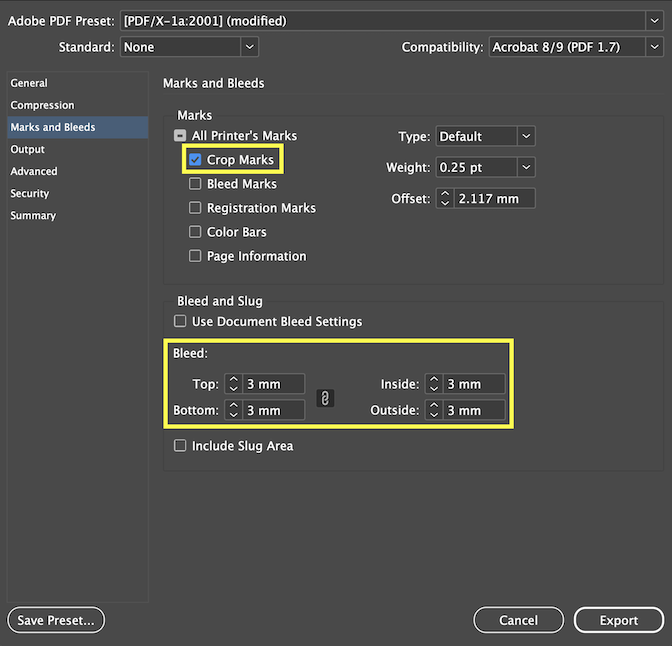 press Export
These export instructions are universal across all versions of Photoshop, with screenshots below for Adobe Photoshop 2025.
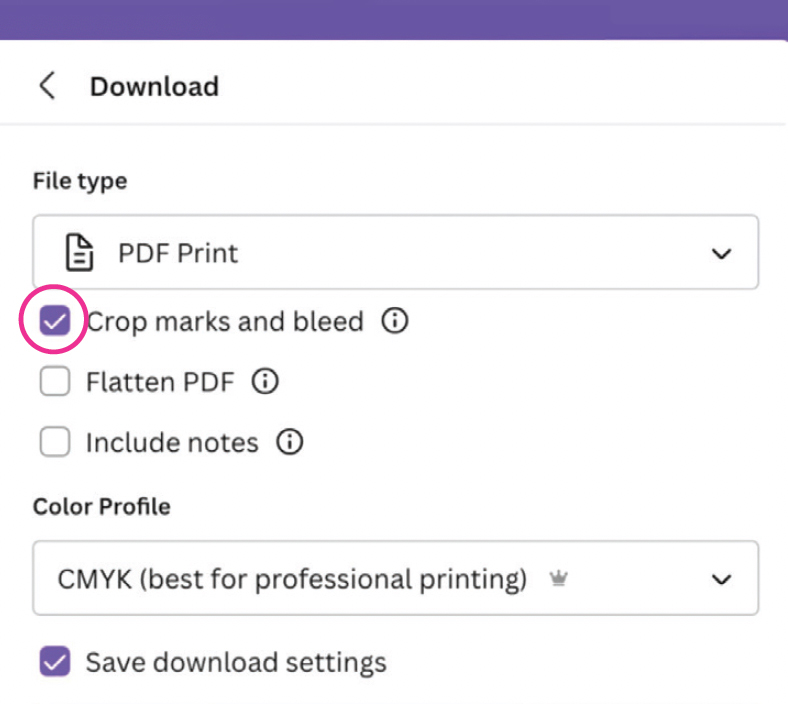
NOTE: CMYK export is only available with the paid version of Canva.
Confirm your project’s final specifications, and authorise Rockstar to proceed printing and production.
Time to get excited! Your yearbooks will be dispatched by courier, and arrive at school.
Please let your Rockstar Consultant know your thoughts, and of any issues or queries within 5 working days.